Carrot Top Pesto

Waste Not, Want Not

Wasting food feels gross, doesn’t it? When I’ve purchased carrots in the past from the grocery store, I didn’t have to deal with the question of what to do with the leafy green part. Now that we’re growing our own carrots, I don’t want to just throw the greens away because they’re edible and they actually contain a bunch of vitamins and minerals. (More on that below.) So I went on a mission to find what to do with the tops of my carrots.

But first…why does the grocery store remove the carrot tops?

There’s a good reason grocery store carrots are bald. If the greens stay attached to the carrots, they steal a bunch of the nutrients and sweetness out the the carrots. Because of this, it’s important to remove the greens from the carrots as soon as possible.

Nutrients in Carrot Tops

Carrot greens are loaded with vitamins A, C, and K, potassium, iron, magnesium, carotenoids, calcium, and dietary fiber. They are the underappreciated “hair” of the carrot, and it’s about dang time we step up and accept their super food status. In an attempt to get my family to consume this nutrient-dense food, I whipped it up into a fine pesto, which I recommend. If you’re kids (or you) aren’t huge fans, you might mix the pesto with a marinara sauce before adding to noodles or pizza or whatever else you add pesto to.

Nut-Free Carrot Top Pesto Recipe

I had to play jazz with recipes I found online because my son can’t eat nuts. Here’s my offering for the world:

Ingredients:

  • one bunch carrot greens

  • one or two handfuls of fresh basil leaves (Spinach would work too.)

  • extra virgin olive oil To Taste

  • parmesan cheese to taste (I ended up using 8 ounces. Don’t judge.)

Directions:

  1. Remove the leafy bits from the fibrous stems of the carrot tops, and Chuck those leafy bits into the food processor.

  2. Add basil leaves to food processor.

  3. Add some olive oil to food processor.

  4. Start processing the heck out of that food!!

  5. Add as much oil and cheese as you see fit. (Basically, keep tasting it until you say mmmm.)

Other Uses for Carrot Tops

You can add them to a salad or sandwich or soup. You could use them as a pretty garnish. You might even find them useful for tickling your sweet child’s little tootsies.

If you want more recipe ideas, check out the World Carrot Museum website. That’s right. There’s a World Carrot Museum. Isn’t it comforting to know that exists?

Freezing Bell Peppers

Do you have more peppers than you can handle? Do you, like me, feel terrible when food goes to waste? Bumper crops are a blessing…until they leave you overwhelmed, frantically scrolling through recipes, searching for ways to use them. If these truths are hitting home for you, it’s time to make use of your freezer, my friend.

Super Simple Process

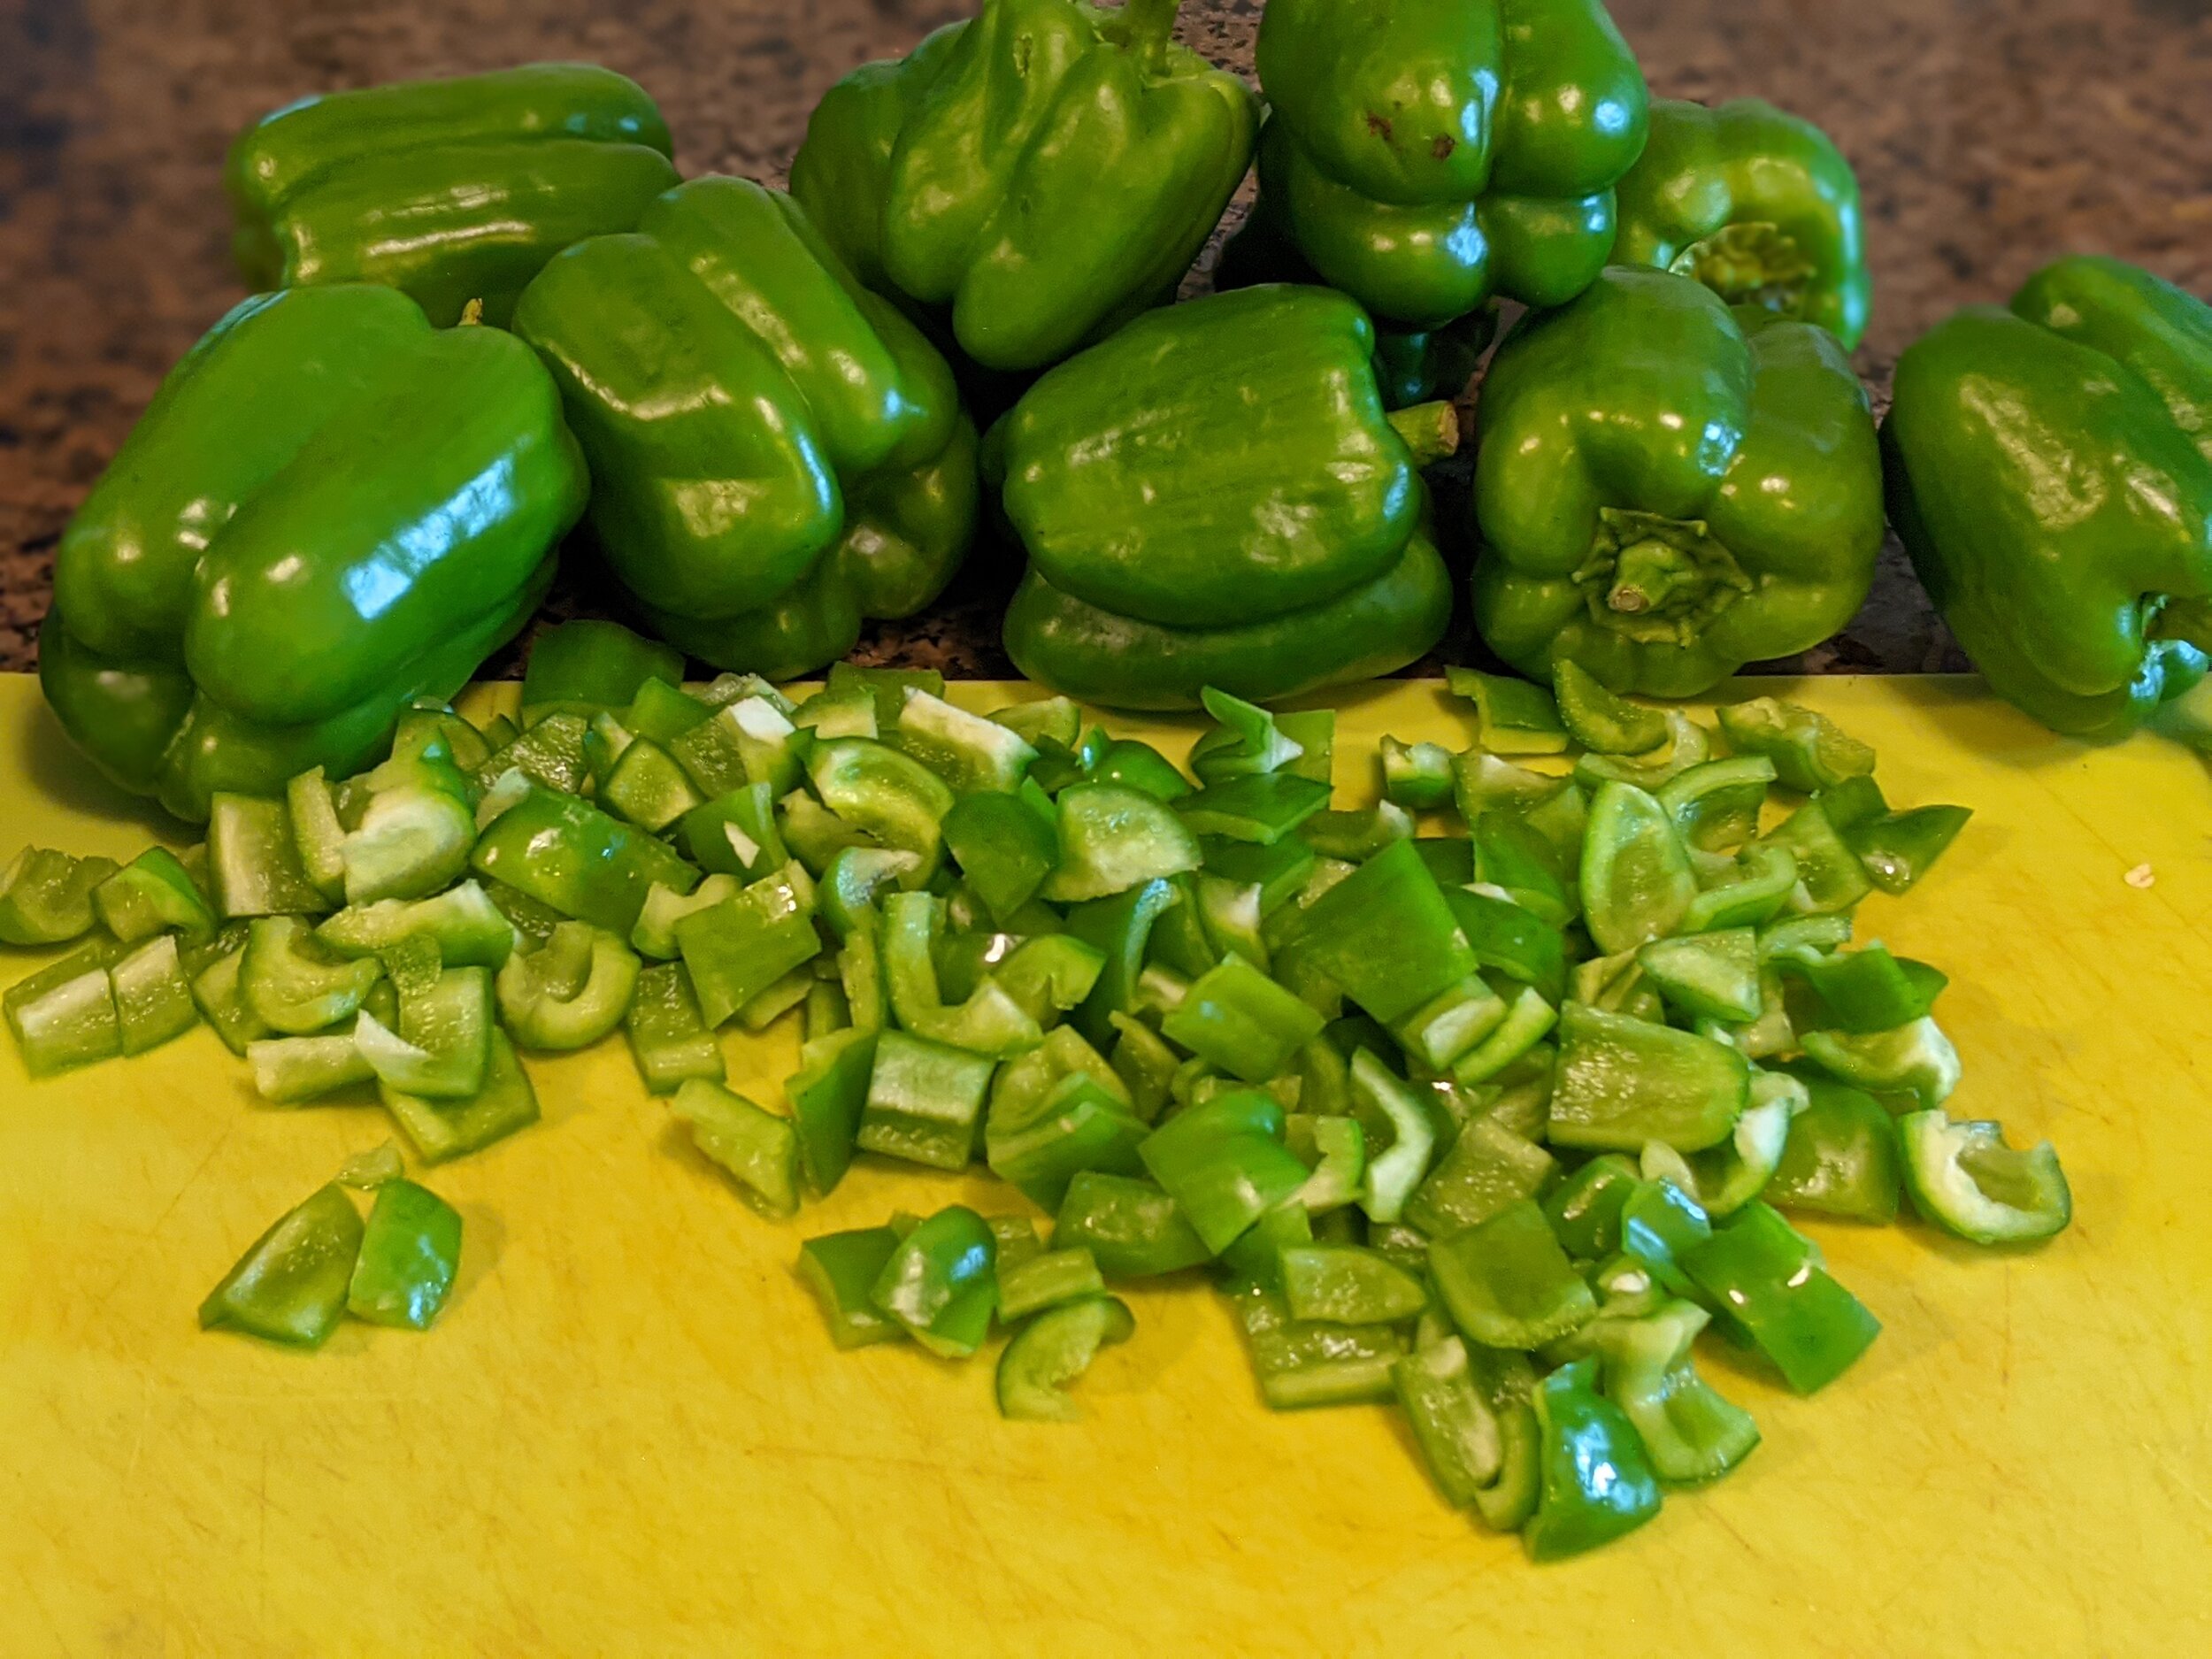
The great thing about bell peppers is that you can freeze them with very little preparation. Just grab a knife, cutting board, and baking sheet, and get started!

Step 1: Rinse and dry your peppers.

Step 2: Chop up your peppers however your little heart desires.

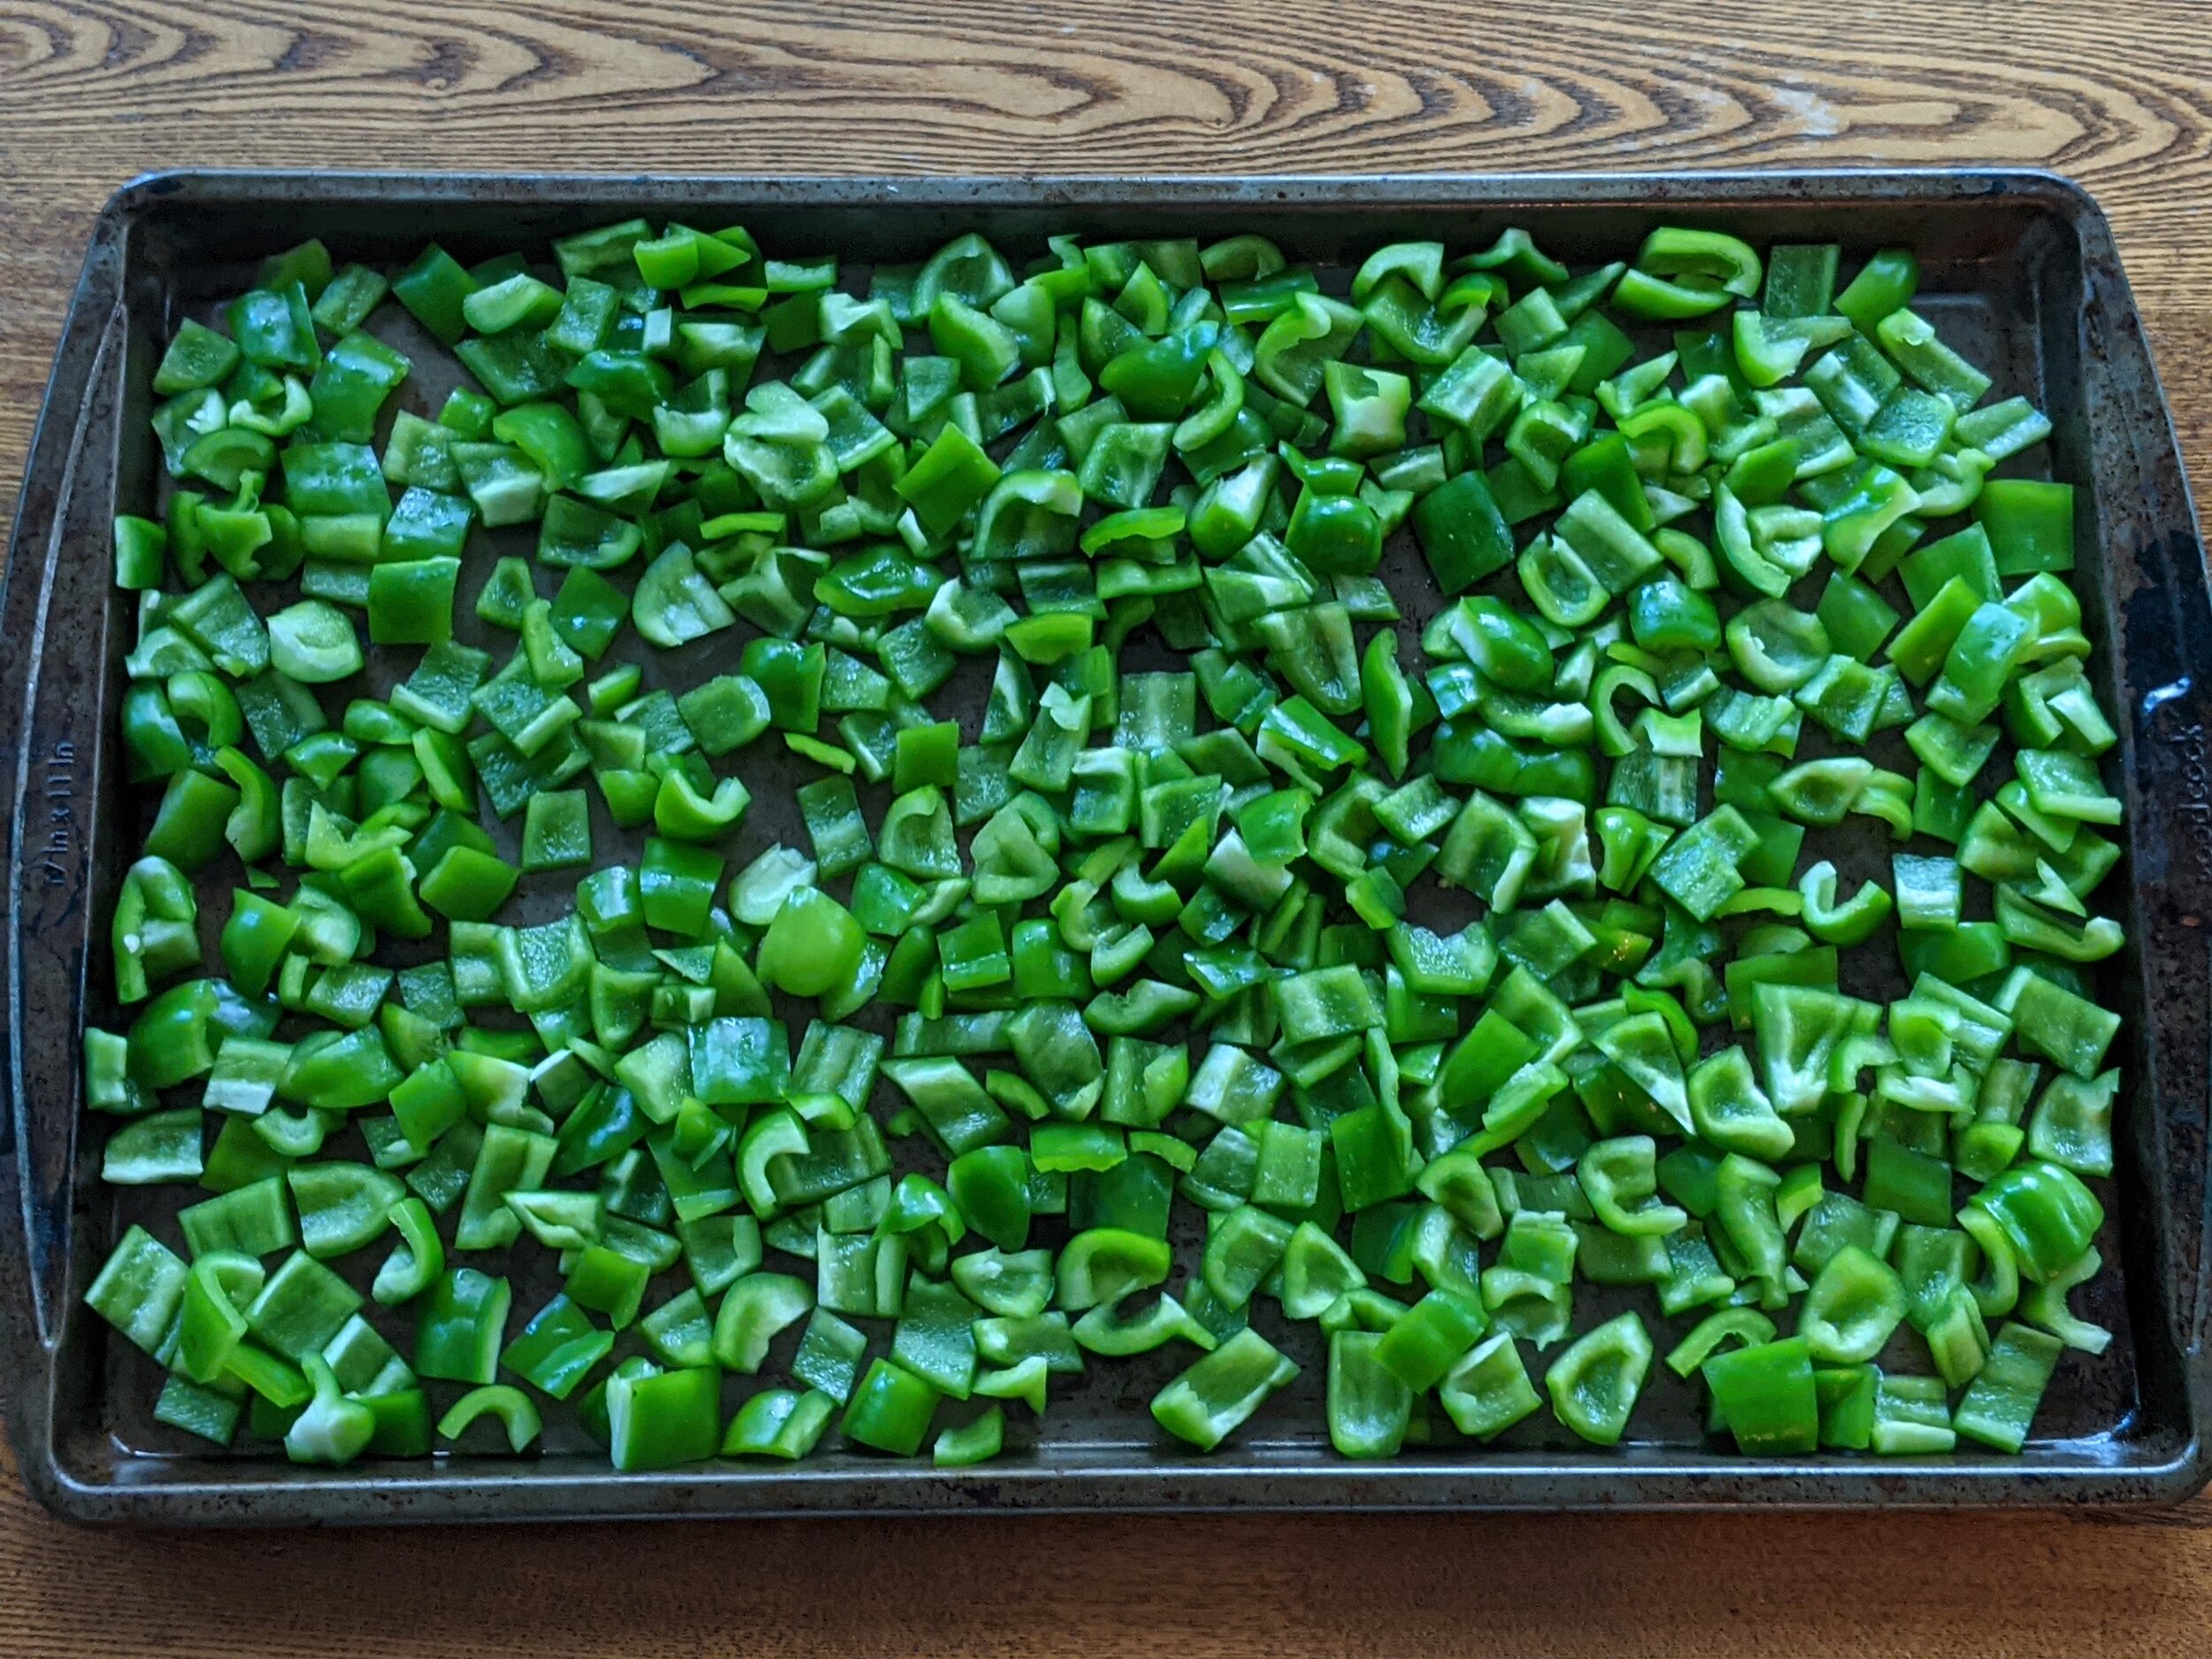
Step 3: Spread the chopped peppers out on a baking sheet.

Step 4: Throw the baking sheet into your freezer for about an hour.

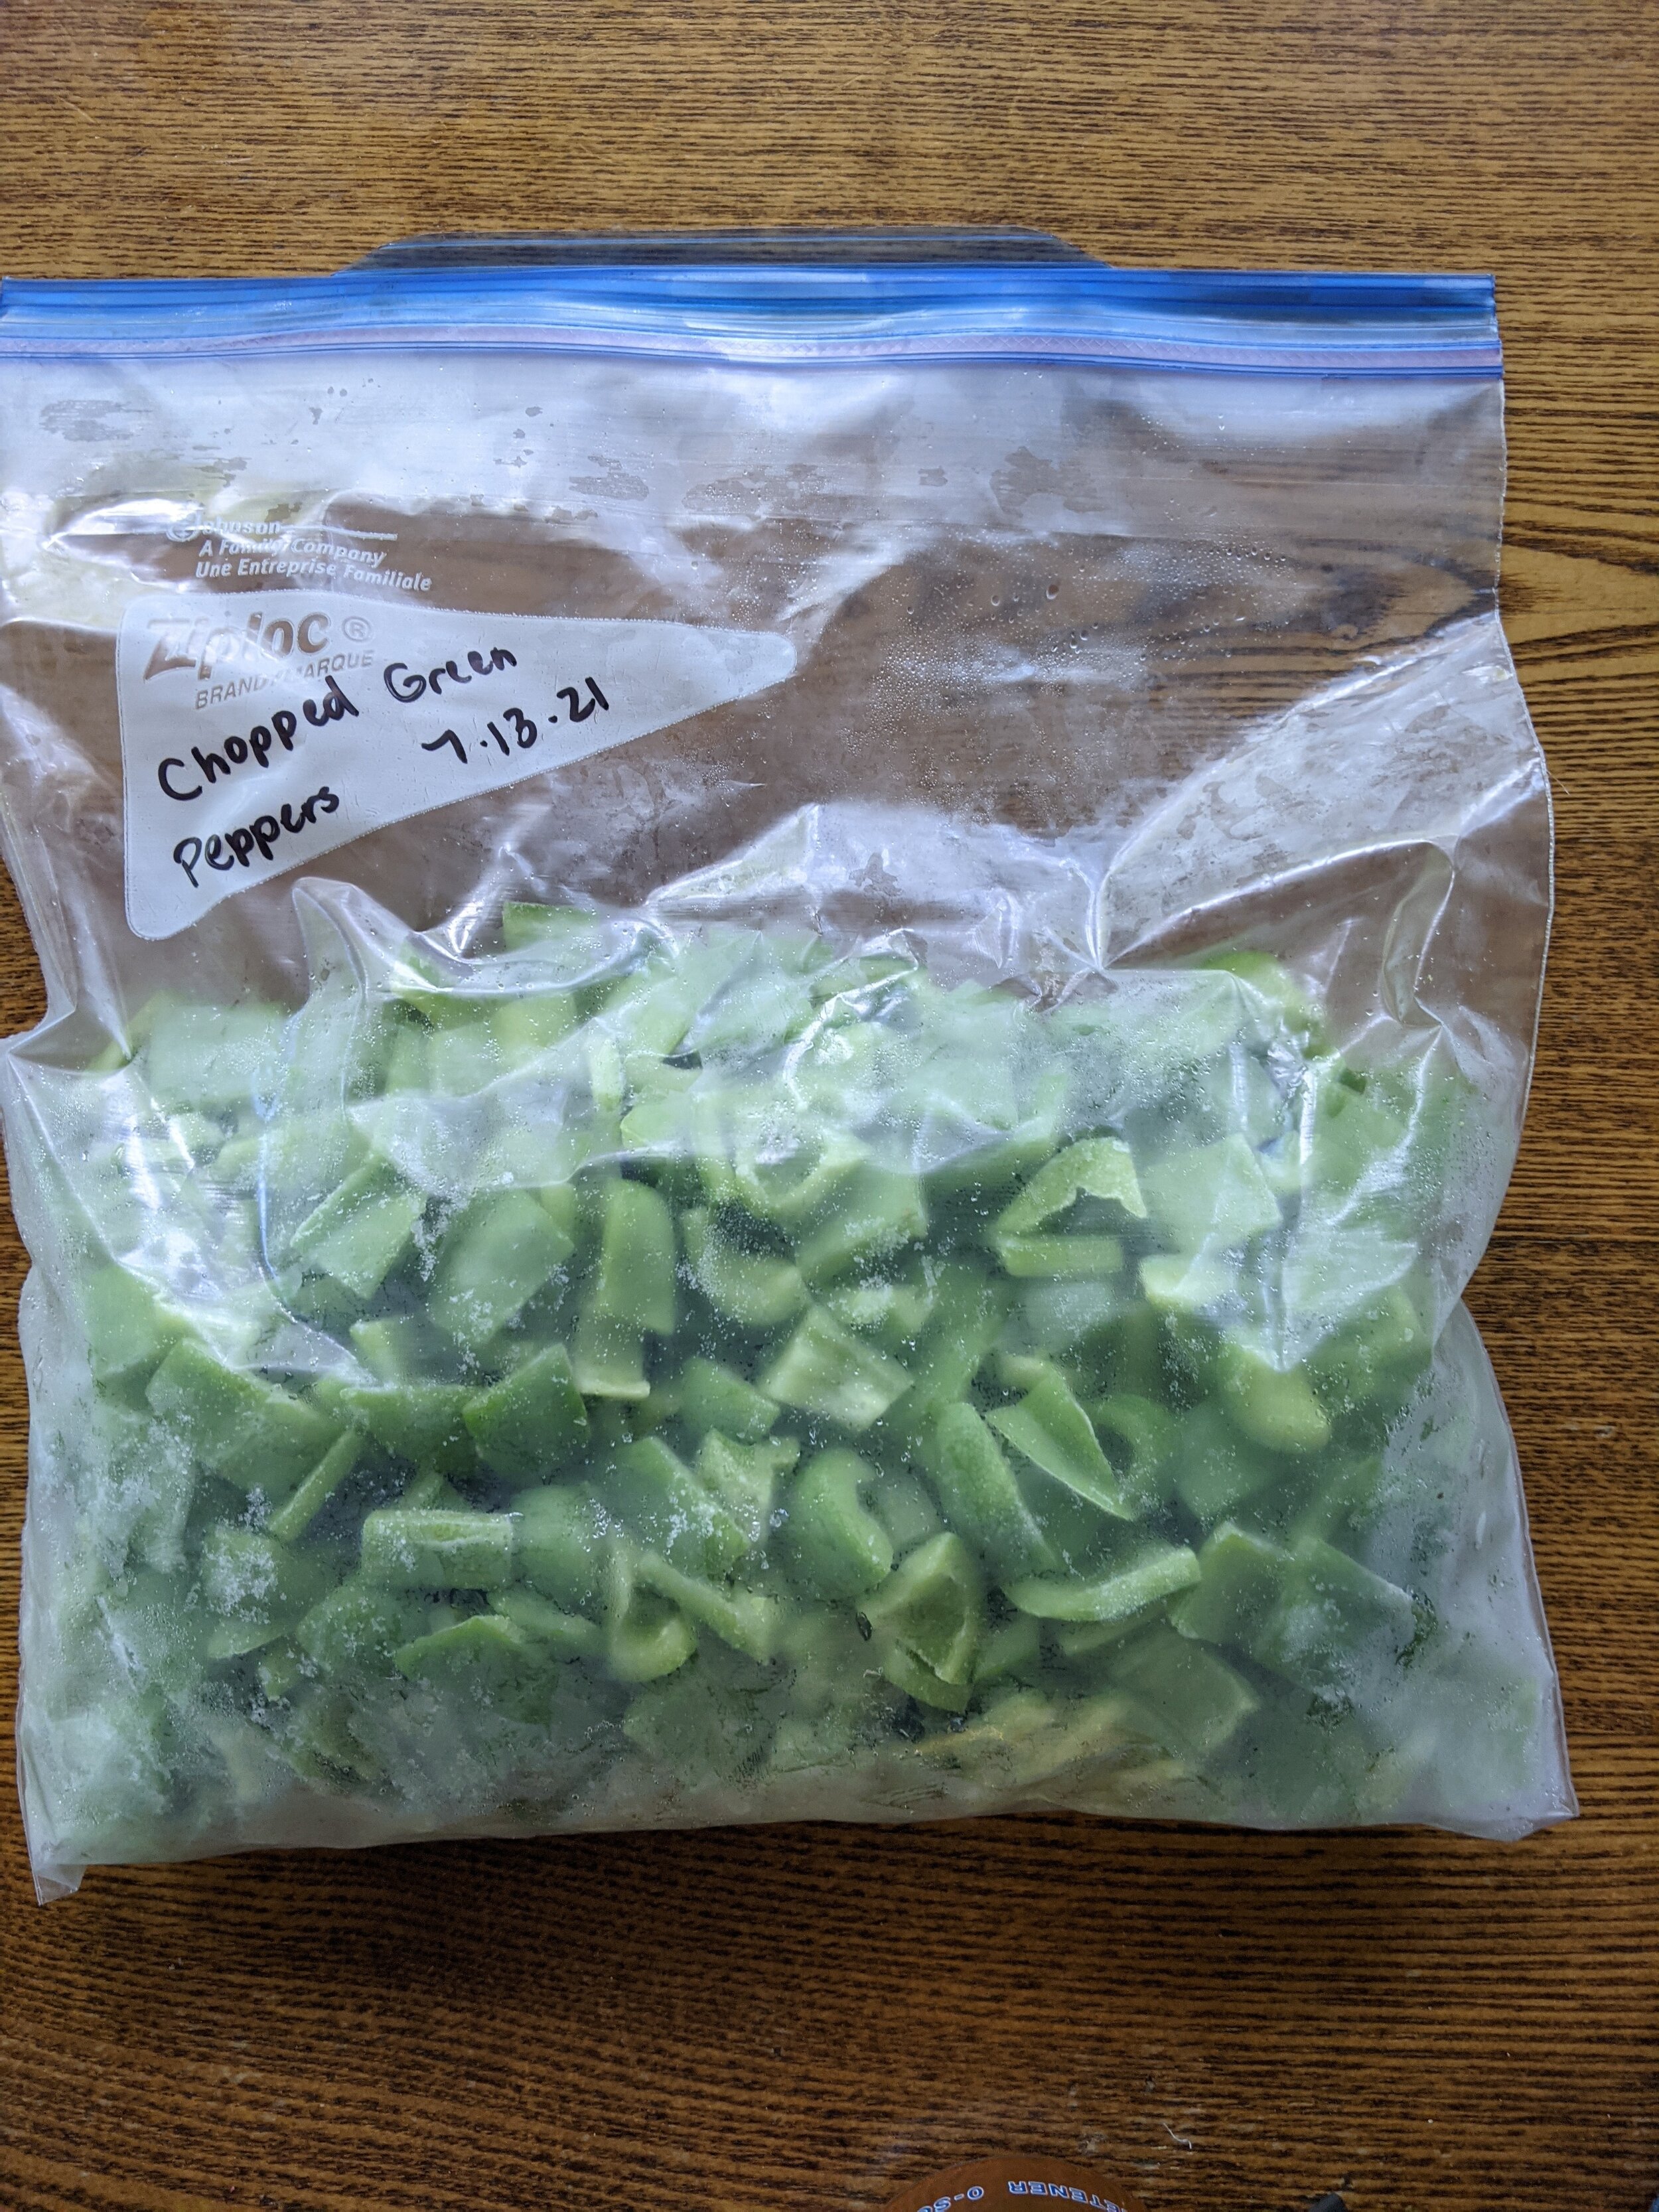
Step 5: Store the frozen chopped peppers in a freezer bag in your freezer until you need them.

Using Frozen Peppers

I cook with frozen peppers pretty much exactly the way I would raw peppers, except that I allow for slightly more cooking time. Because the peppers bits are frozen individually on the tray before they’re put into the bag, they’re easy to scoop out of the freezer bag when you need them. Your peppers should last in the freezer for a year.

Perks of Freezing Your Peppers

Freezing your peppers with this method is doing a favor for future you. You’ll be making a recipe in November that calls for peppers, and you’ll say to yourself, “I need a quarter cup of bell peppers, self!” Next thing you know, you’ll be reaching into your freezer and voila! The prep work of chopping your peppers has already been done! You’ll thank your past self and move on with your life.


Read more about Fail Better Farms!

Kale Cubes: The Answer You've Been Looking For

Why make them?

Kale is a healthy green. If your children are anything like mine, it’s sometimes a fight to get them to consume healthy greens. Kale cubes are a great solution for sneaking greens into other dishes like soups, sauces, or smoothies.

How to make them?

Simple! You seriously just blend kale leaves and water together. Then freeze. Here. I’ll make it look like a recipe so you take me seriously:

Ingredients and Materials:

  • 1 bunch kale (or other hearty leafy green)

  • 2-3 cups water

  • ice cube trays (or other freezable containers)

Directions:

  1. Remove kale leaves from stems, and place a few handfuls of kale leaves into blender.

  2. Add 1-2 cups of water to the blender.

  3. Blend kale and water until kale bits are pulverized.

  4. Take the blender jar off the blender base, and use a fork to scoop out the solid bits of kale and pack them into the cells of the ice cube tray. (At this point, leave the green juice in the blender jar.)

  5. Add a few more handfuls of kale to the blender, and pulverize again. (Add more water if needed to get the blender going.)

  6. Repeat steps 4 and 5 until all of your kale is blended up and the solid bits of kale are packed into ice cube trays.

  7. pour the green juice over the ice cube trays.

  8. After the kale cubes have frozen, store the cubes in a zip-lock bag in the freezer, and use within six months.

How to use them?

  • I’ve been adding 4-6 kale cubes to our morning smoothies, and I make sure to also add dark berries so the kids don’t notice the green color of the kale. So far, so good.

  • I added 6-8 cubes to a marinara sauce the other day, and no one was the wiser. Mwahaha!

  • I’m planning to tuck these cubes into soups as we move into the cooler months.

Watch My Video!


Learn More About Fail Better Farms

Source: failbetterfarms.com

Fall Harvest at Fail Better Farms

DISCLOSURE: THIS POST MAY CONTAIN AFFILIATE LINKS, WHICH MEANS I MAY EARN A COMMISSION IF YOU CLICK A LINK AND MAKE A PURCHASE. FEEL FREE TO CHECK OUT MY DISCLOSURE POLICY FOR MORE DETAILS.

FallBounty.jpg

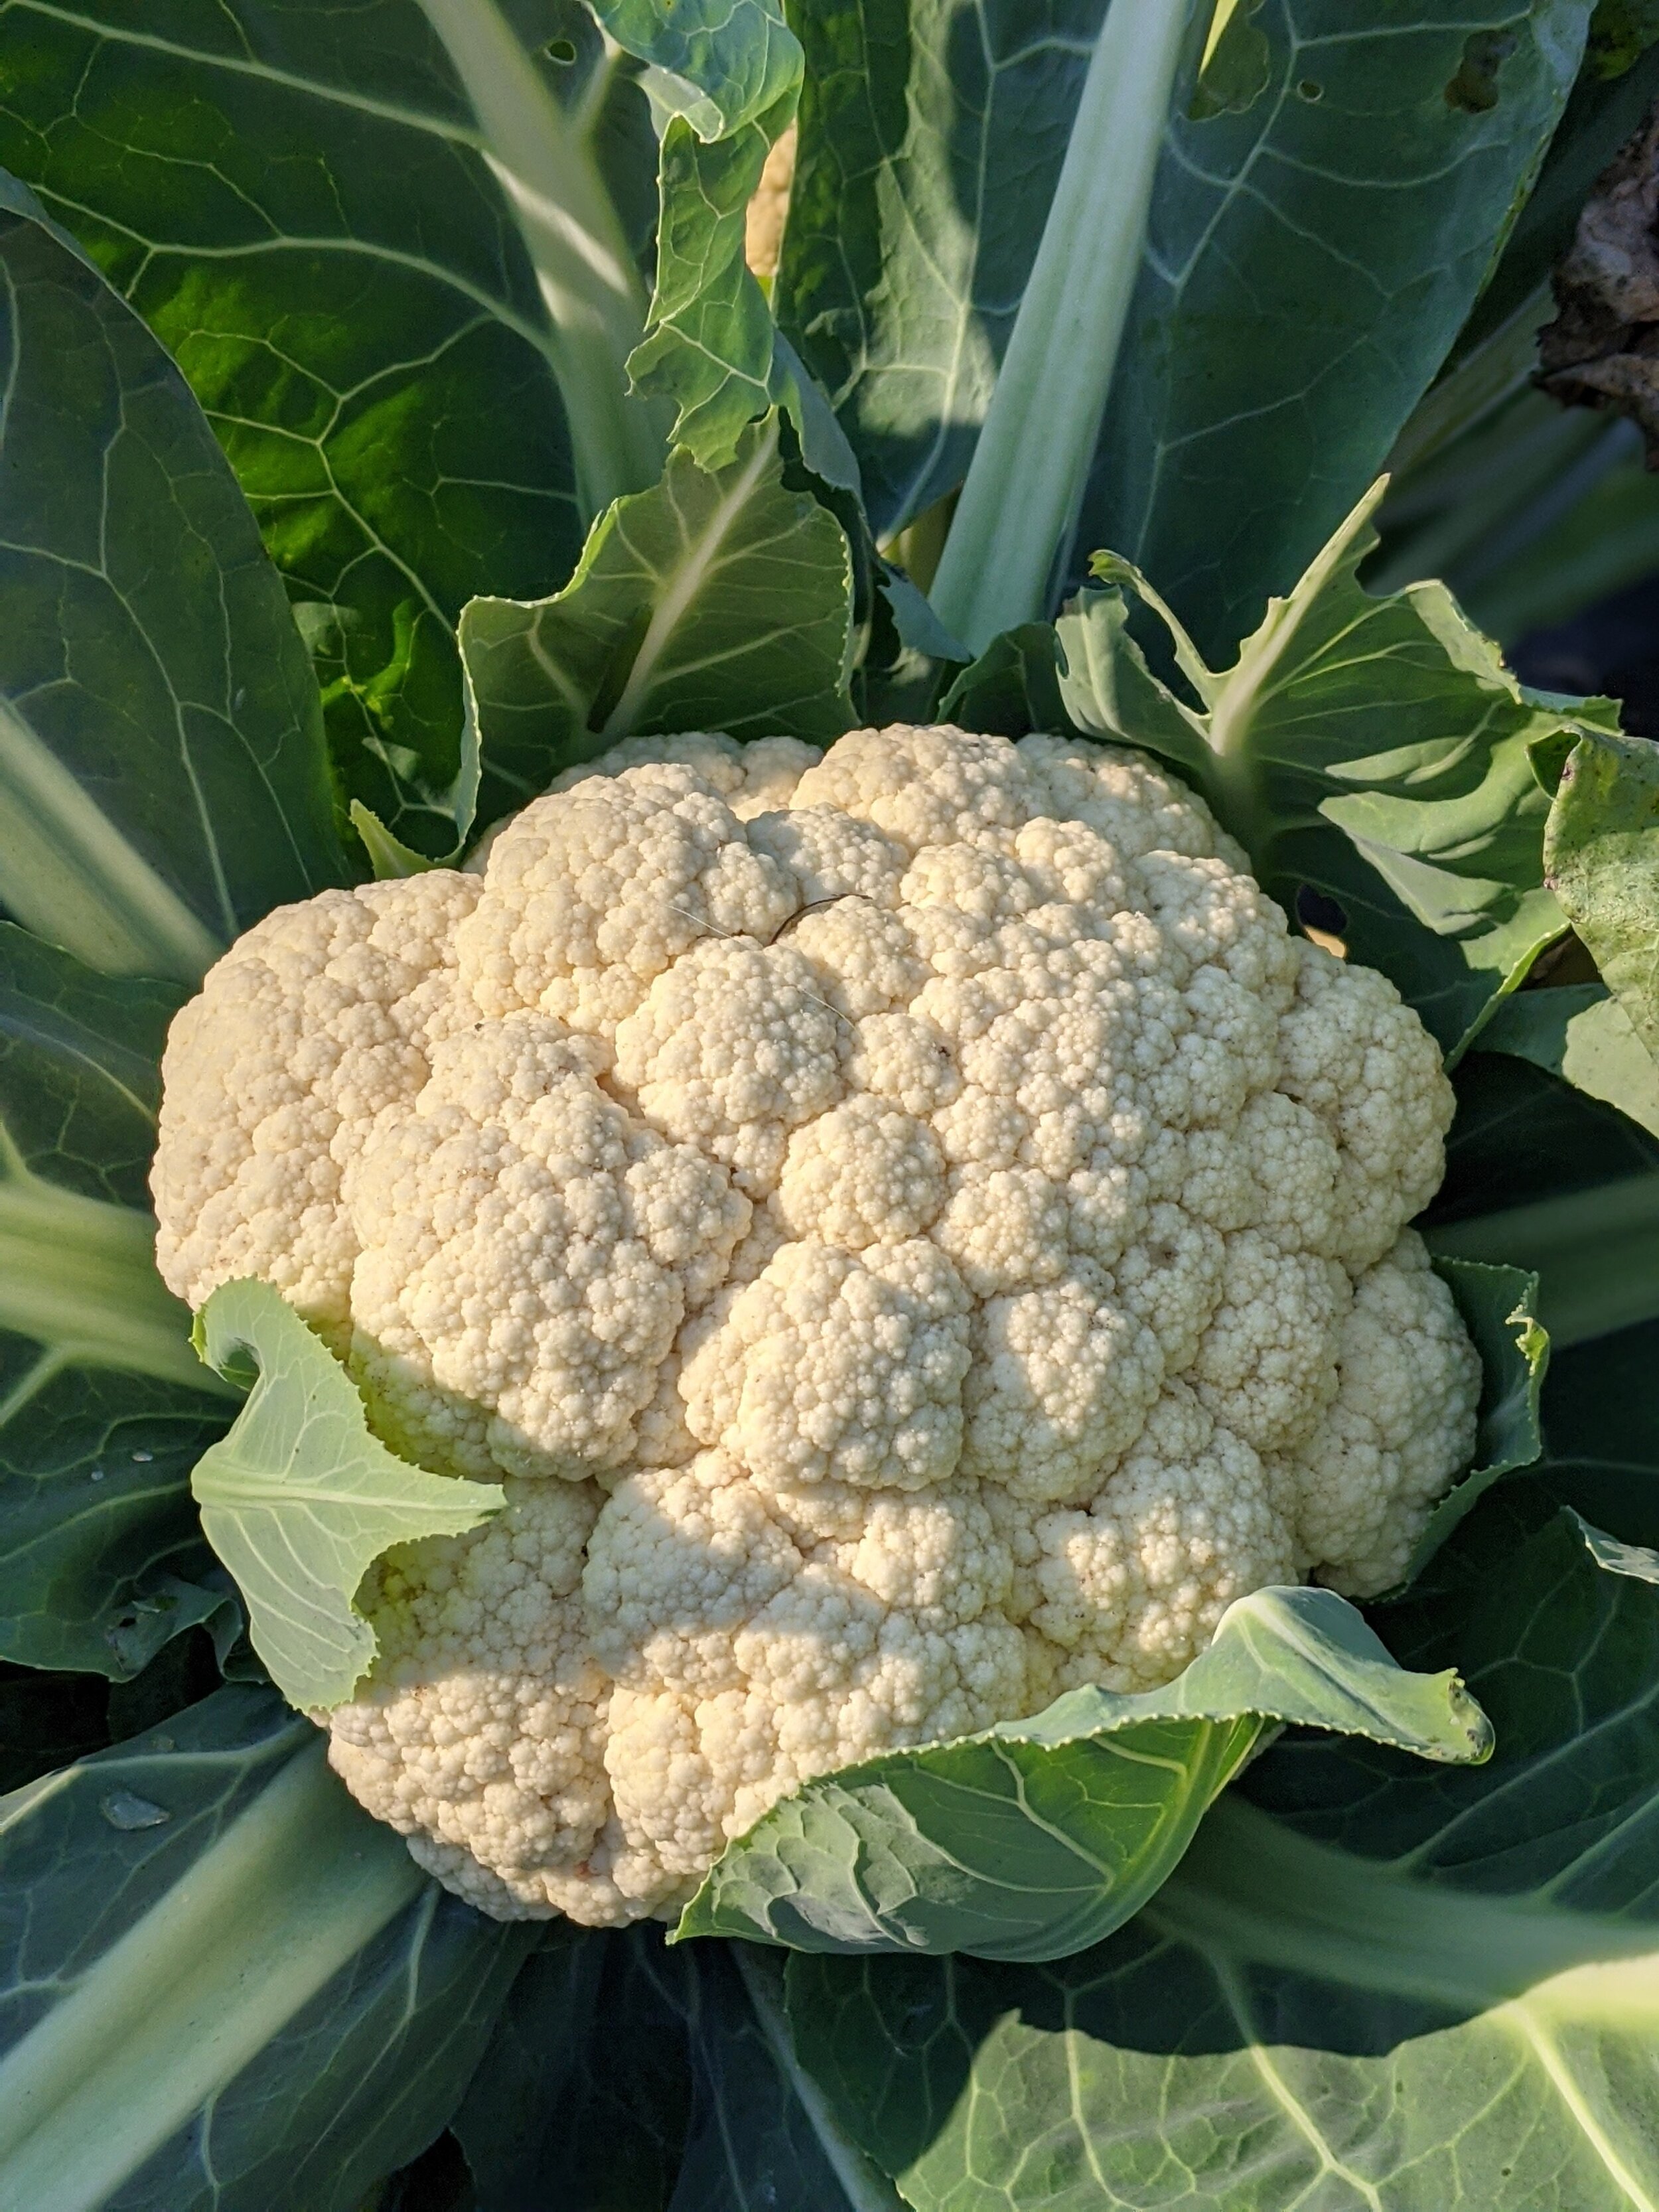
We’re so excited to offer our first produce packages ready for sale! We’ve worked hard to grow tasty, nutritious veggies, and it feels good to know we’re feeding other folks wholesome food.

How We Do

All of our produce is raised organically with permaculture principles. Here’s what that looks like:

CaterpillarTunnels.jpg

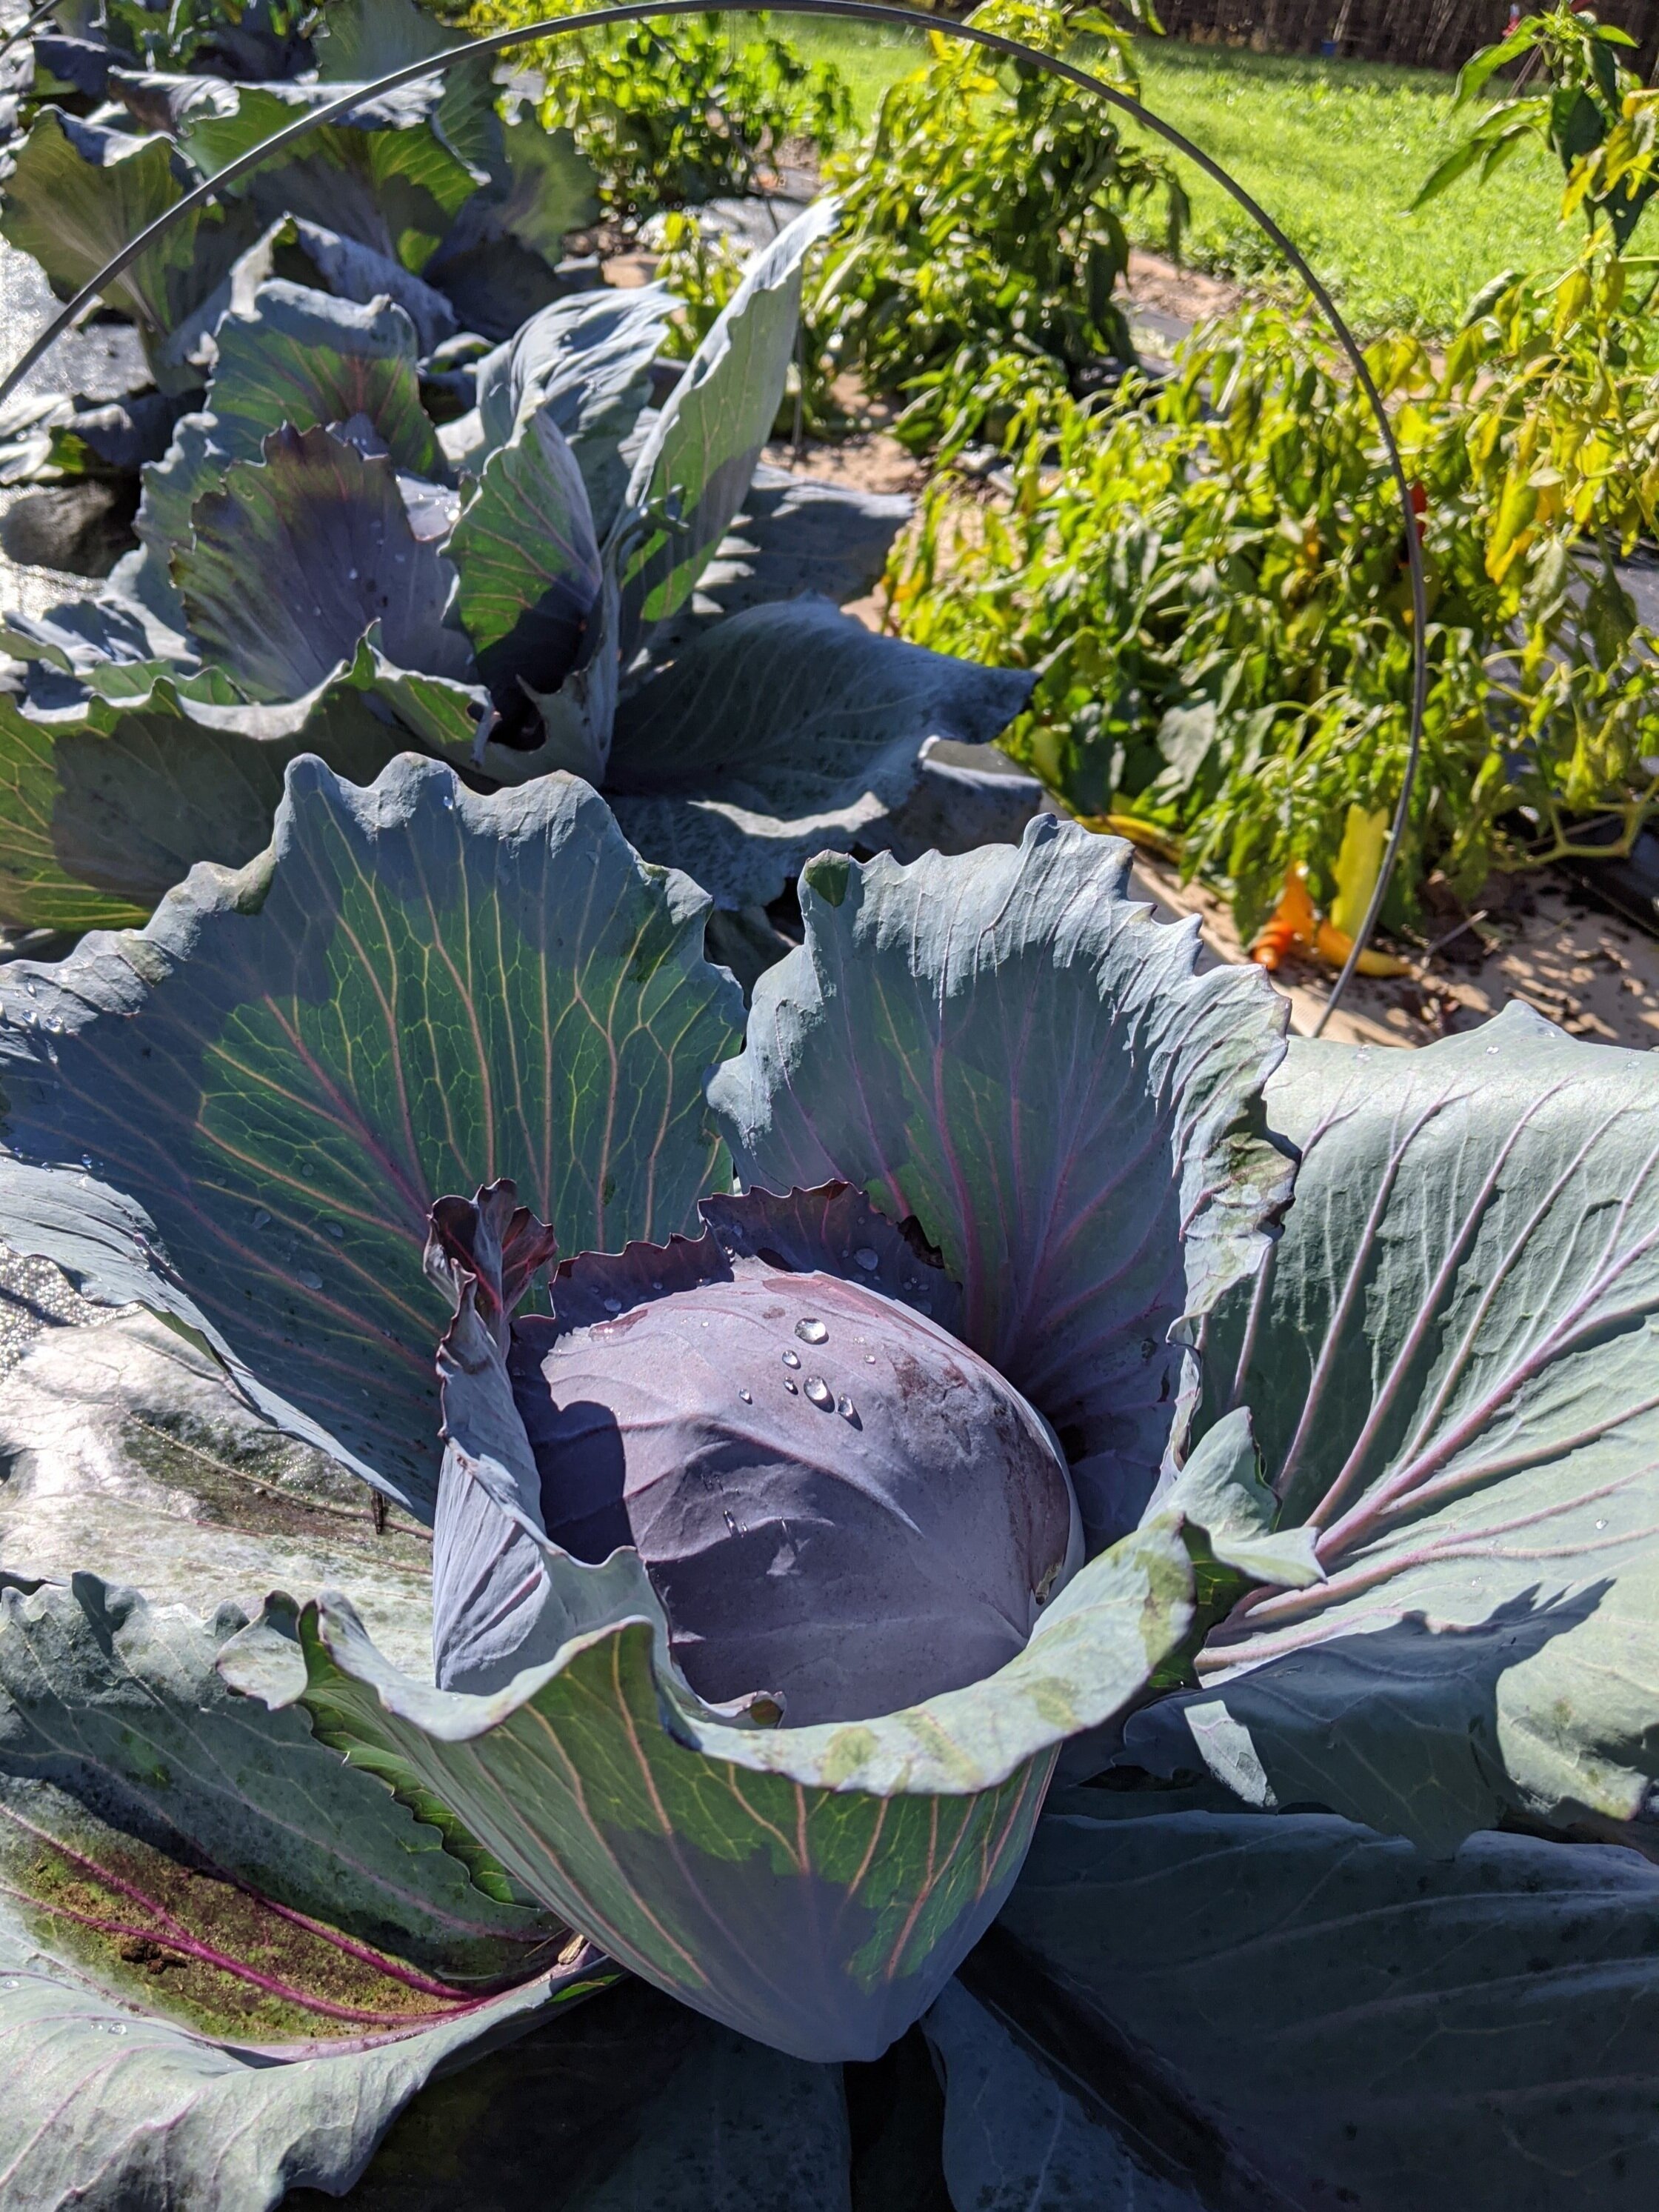
Instead of spraying our crops, we keep them covered with insect netting so cabbage loopers and other creepy crawlies can’t attack them. Also, we eliminate weeds between rows by laying down repurposed conveyor belts.

Once the produce gets to be a healthy size, we remove the insect netting in order to let our plants stretch out (and so we can take a closer look at our beauties!).

Regenerative Agriculture

After we harvest this produce, we’ll plant cover crop, which includes peas, vetch, daikon radish, and other cool stuff, which will pull nitrogen into the soil and make the land even more nutrient-dense for our planting next Spring. We believe it’s not enough to be sustainable. Our pursuit of regenerative agriculture means that we continually strive to leave the land healthier than we found it. Future generations depend on our success.

CollFallGarden.jpg